Site Content
From the Account menu, select organisation and then the Site Content tab. You will then see several options:
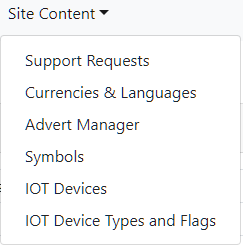
We will discuss these one by one.
UDB offers a comprehensive support management facility that allows you to keep track of support communications between you and your users or you and us.
There are three sides to this. Providing the user with content relevant help pages, logging and responding to support requests or viewing the users actions in real time.
To add a support navigation button to your application, see the {SUPPORT()} command help.
Use this page to monitor the support requests generated by your users.
Clicking this tab bring up a list of current support requests, detailing the date/time and nature of the request as well as the current status of the request. Monitor requests and progress of requests here.
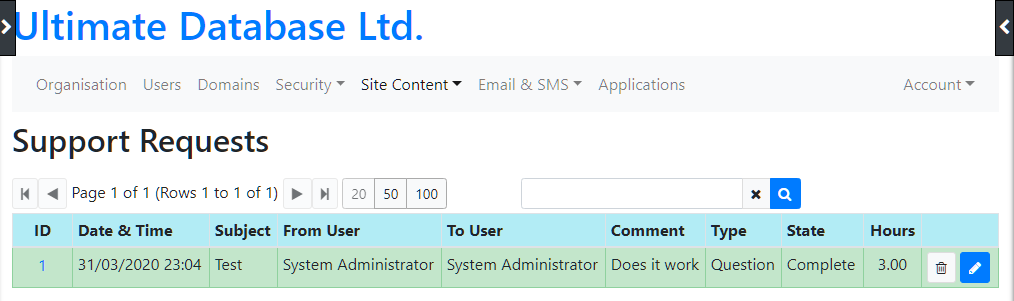
From this list you can see all of your logged requests, and if you have the rights can modify and delete them.
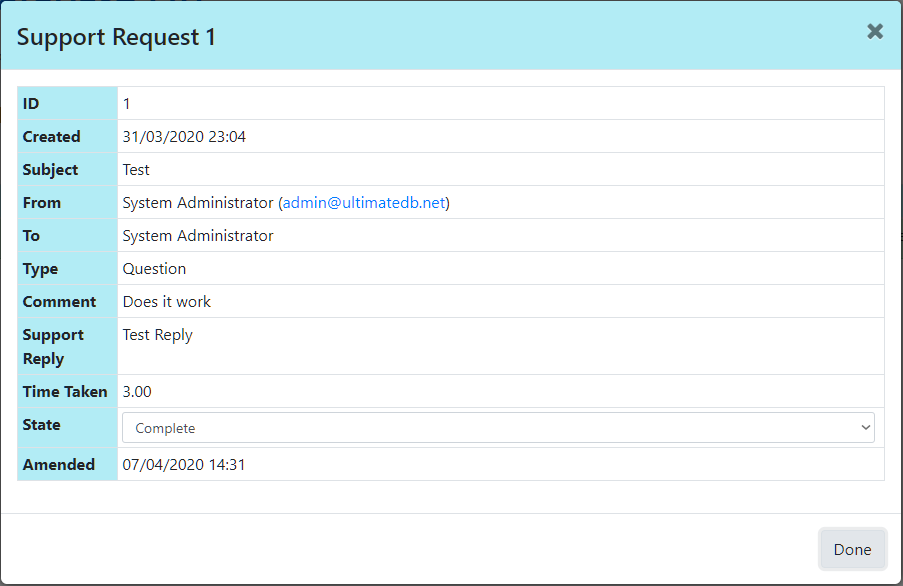
If you click the request ID a new form is opened with more information. See example below.
Clicking this tab bring up the currencies and language form. Here you can select the currencies you will be using as well as their exchange rates.
You can add currencies using the plus icon. Where you will need to enter the currency code, name, short name symbol and exchange rate. Then click save and the currency will appear in the list.
In the Language Name section, you can add additional languages, you need to enter the language code and name of the language.
Advert:
Here you can add advertisements to the site, click the plus icon to add an advertisement. You will need to provide a Title, URL link to the advert, and Image URL, Second Image URL, a start date and end date for running the advertisement, the Advert Type (size and positioning), group this advert belongs to if any and a friendly name.A
Advert Group:
Here you can create groups to organise you advertisements.
Here you are able to create Symbol's, by clicking the plus icon you will then be asked to supply a name, comment and display text for the Symbol.
Click save to return to the previous screen with your new Symbol added. You can access the symbols by the allocated ID in the list using the command.
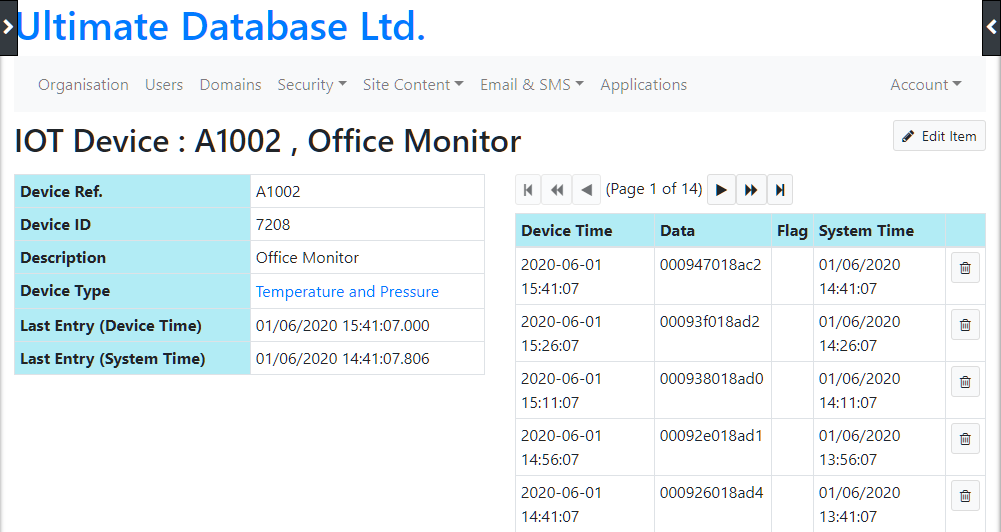
Here you are presented with a list of your IOT devices, each has a unique system ID.
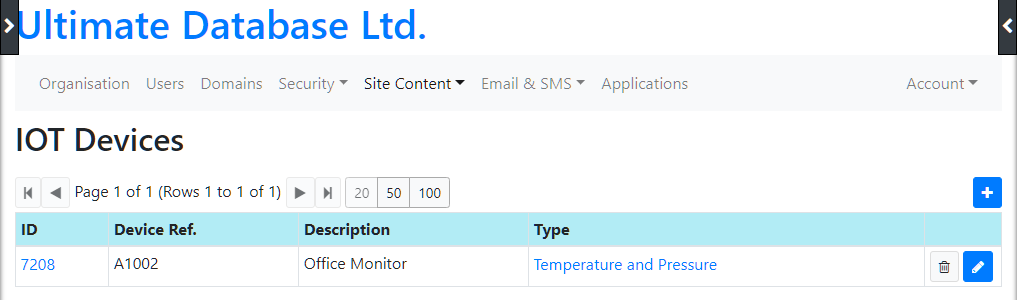
Click on the ID to get more device information and a log of incoming data packets.
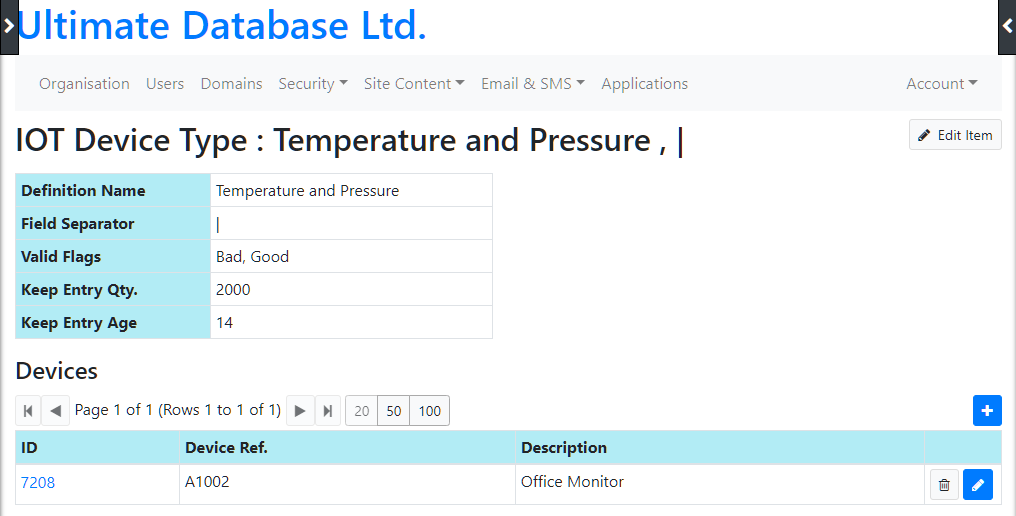
Or click the Type link to get a list of devices of that type.
Here you are able to manage device types and flags assigned to IOT devices. You are presented with two lists, one for device types and the second for the flags applicable to devices. As shown here.
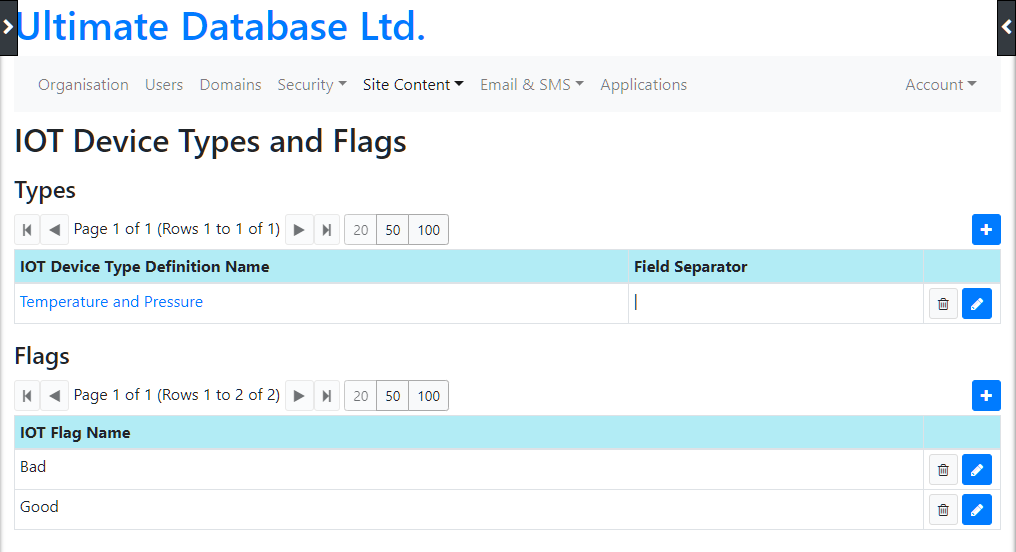
You can add, modify and delete device types and flags using the 'plus' icons, 'edit' icon and 'trashcan' icons.
If you a a new device type you are presented with a form similar to the one presented below.
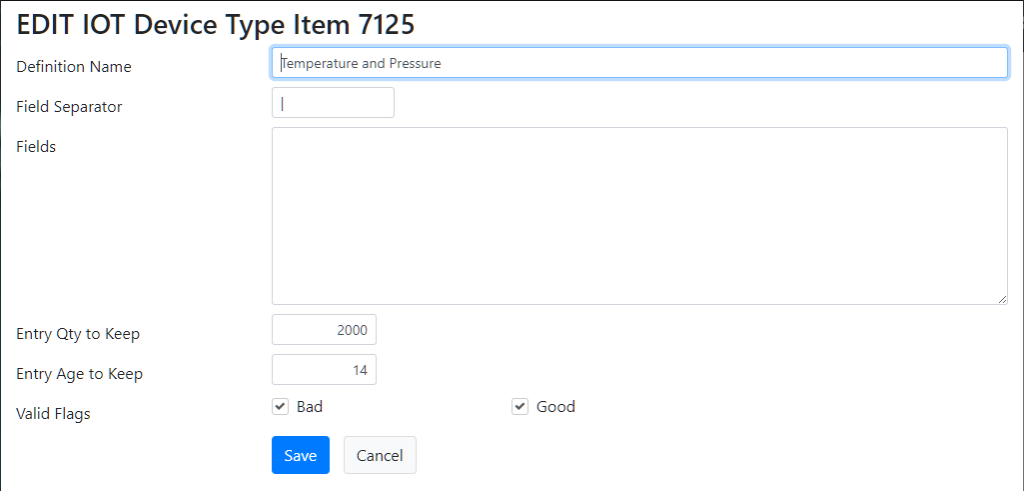
You can give the type a name, data fields separated with your defined separator. How many entries to keep and how long to keep them for. Also, you can select which flags apply to the type being modified/created.