Custom List Templates
Here we're going to learn how to make a custom list template. In the last tutorial we learned how to make a list and create a basic template to display it on our site, if you haven't covered that yet then feel free to go and check that out here.
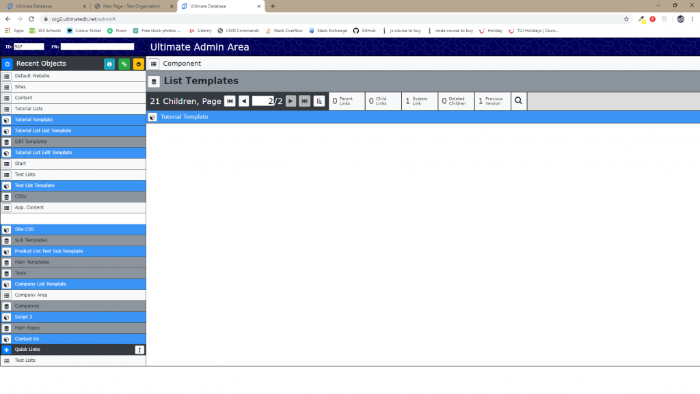
So, we have our list and we want to display it on our site, first off we're going to need a list template, you can create this anywhere but I would recommend putting it in the Component > List Templates folder, If you don't have one of those then go to components and create a new Data List and call it List Templates, this will help you keep everything organised as its quite easy to end up with a lot of templates over the course of building a site.
My list templates list has a lot in it but i'm going to create a new one called Tutorial Template:
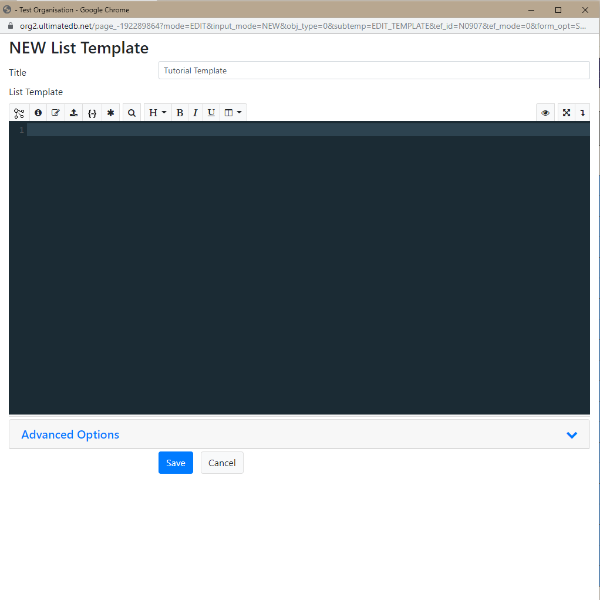
Now in the black box we need to create the html that will display our list. We can do this with a table, which is what the default template does or we can do it with a panel, for this example I will do it with a panel and then I'll come back and do it with a Table.
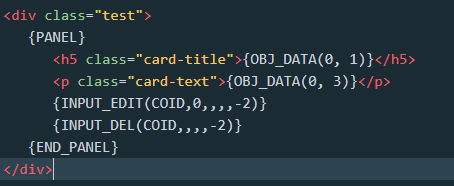
So here you can see I made a div to contain the panel, I then used regular h5 and p tags and then put in the {OBJ_DATA(0, C1)} and {OBJ_DATA(0, TX)} data selectors inside them. The reason I used 1 and 3 is because if you remember when we made the list we selected character for object data type 1 and text for object data type 3 but we selected none for object data type 2. so these correspond to the different data sections. At the bottom I have used the input edit and delete UDB commands, COID stands for current object id (kind of like $(this) in jquery), and the -2 tells the page to refresh on submit. If you copy in the same code as mine and click the save button it will save the template to the database, now we have to link it.
So go to the original web page and go to Account > Edit page we can now change the list command that's in there from the last tutorial to:

So here we are telling it to display a list, the #:1433 is the list id, so if you go to the list and click on it you can find the id in the top left of the page:
copy this and add it in after the #:
The second # number (#:1437) is the id of the list template, so in the admin area go to Component > List Templates > Your new template and look in the same place for the id:
copy that number and put it after the second #:
now finish off the list command the same as mine and click save.
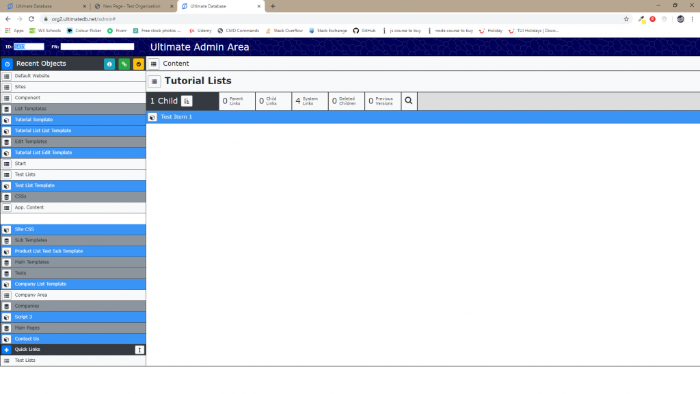
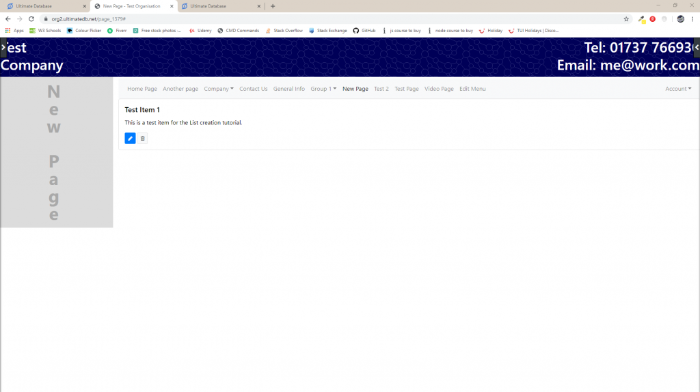
The page will refresh and you should see something like this:
And that's it! you have now created a custom list template. If you want you could add a new item button onto the edit page screen like so:

Now you can Add, Edit and Delete items without going to the admin page!
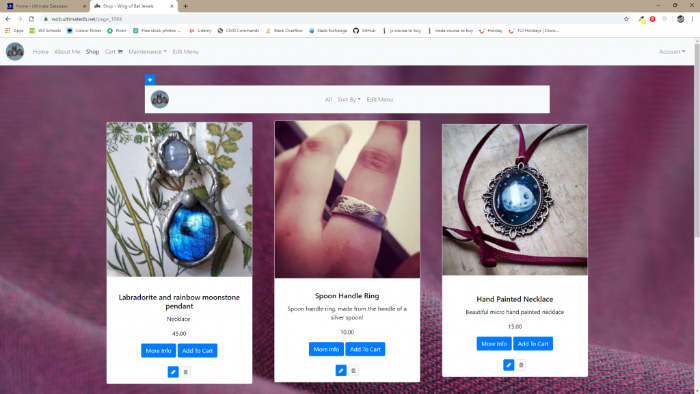
If you add classes into the html you can then style the overall look of each item, here's an example of an online shop using the panel command in the custom template: